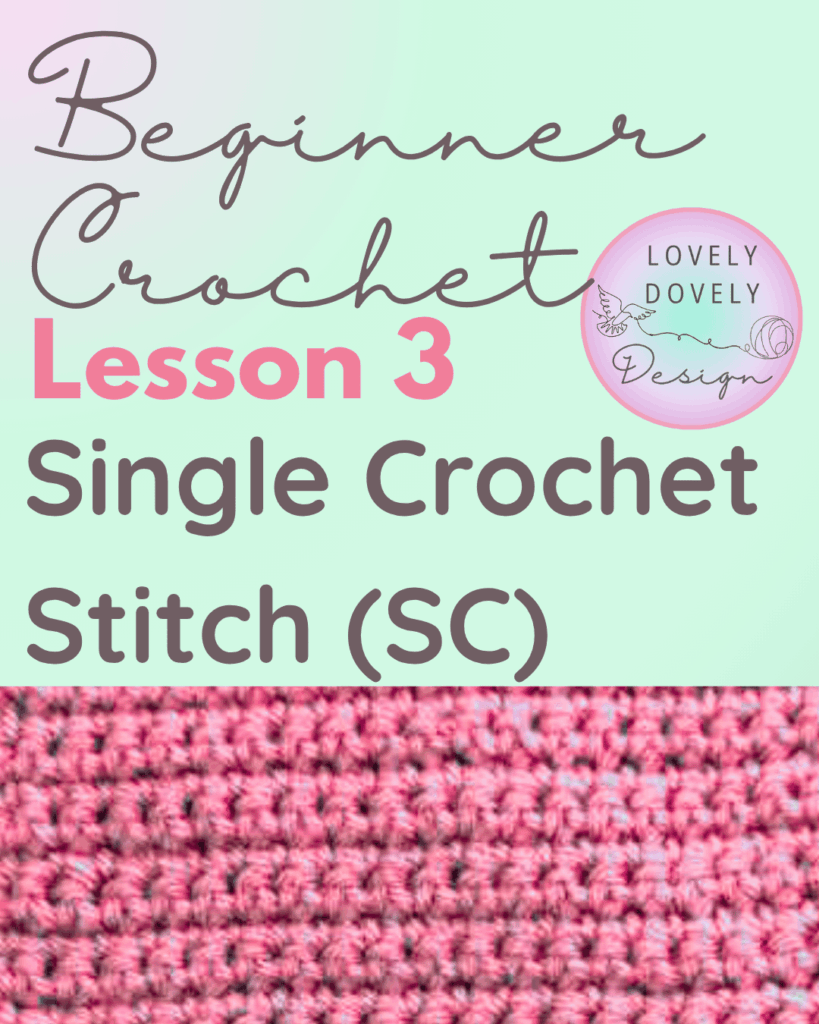
Lesson 3: How to Crochet a Single Crochet Stitch
Hello Lovely!
You’ve learned how to hold your yarn, make a slip knot, and create a chain — now it’s time to turn that chain into beautiful crochet fabric!
In this lesson, we’ll learn the single crochet stitch (abbreviated “sc”), one of the most important stitches in crochet.
What You’ll Need
- Your crochet hook and yarn
- A small practice chain of around 12 stitches
- Scissors
Step 1: Get Ready
Lay your chain flat in front of you. Each little “V” along the top is a chain stitch. You’ll be working into these stitches to form your first row of single crochet.
Step 2: Insert, Yarn Over, Pull Through
- Insert your hook into the second chain from the hook.
- Yarn over (wrap the yarn over the hook from back to front).
- Pull the yarn through the chain — you should now have two loops on your hook.
Step 3: Yarn Over and Pull Through Again
- Yarn over once more.
- Pull the yarn through both loops on your hook.
That’s it — you’ve made your first single crochet stitch! You’ll now have one loop left on your hook, ready to start the next stitch.
Step 4: Continue Across the Row
- Insert your hook into the next chain.
- Yarn over, pull through (two loops on hook).
- Yarn over again and pull through both loops.
- Repeat across the row until you reach the end.
When you’ve reached the end of the row, you’ll have a neat line of single crochet stitches — your very first crochet fabric!
Step 5: Turn and Begin a New Row
To start your next row:
- Chain 1 (this brings your yarn up to the height of the next row).
- Turn your work around.
- Insert your hook under both loops of the first stitch.
- Work a single crochet just like before.
Practice Exercise
Practice making 3–4 rows of single crochet. Focus on even stitches and relaxed hands. Your piece should start to look like a small rectangle of soft, textured fabric.
Next Lesson
In our next lesson, we’ll learn how to make a tweak to this process and learn a new stitch: The Half Double Crochet!
Thanks Lovely, and happy crocheting!

Love Claire x
Hello Lovely, I hope you found this written tutorial helpful. To watch the accompanying video tutorial, click below.