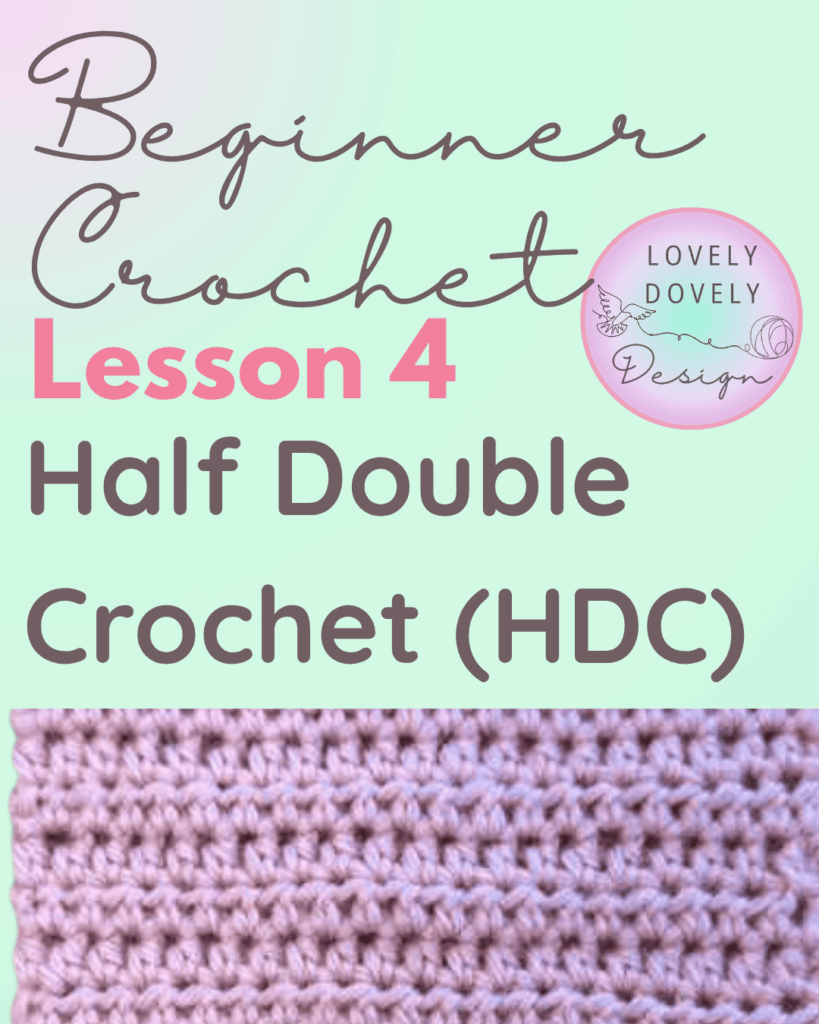
Lesson 4: How to Crochet a Half Double Crochet Stitch
Hello Lovely!
You’ve done so well learning your chain and single crochet stitches — now it’s time to add a little height to your work with the Half Double Crochet (HDC) stitch.
It’s soft, slightly taller than a single crochet, and creates a beautiful texture that’s perfect for blankets, hats, and scarves.
What You’ll Need
- Your yarn and crochet hook
- A small practice swatch or chain (about 12 stitches)
- Scissors
Step 1: Start with a Chain
To begin, make a chain of about 12 stitches. For this lesson, you’ll skip the first two chains from your hook — that will count as your turning chain and give your stitch the right height.
Step 2: Yarn Over and Insert Your Hook
- Yarn over (wrap the yarn over your hook from back to front).
- Insert your hook into the third chain from your hook.
You’ll now have three loops on your hook — that’s what makes the half double crochet special!
Step 3: Yarn Over and Pull Through All Loops
- Yarn over again.
- Pull the yarn through all three loops on your hook.
Congratulations Lovely — that’s your first half double crochet stitch! It’s taller than a single crochet but shorter and denser than a double crochet.
Step 4: Continue Across the Row
- Yarn over.
- Insert your hook into the next chain.
- Yarn over again and pull through (three loops on hook).
- Yarn over once more and pull through all three loops.
Repeat this motion across the row until you reach the end. Your row should look soft, with gentle horizontal lines across the fabric — that’s the half double crochet’s signature texture!
Step 5: Turning for the Next Row
- Chain 2 (this will bring your yarn up to the height of the new row).
- Turn your work around.
- Work your next stitch into the top of the previous row’s stitches.
Practice Exercise
Make a small square of 4–5 rows of half double crochet stitches. Practice keeping your stitches even and relaxed. Notice how beautifully the rows stack up to form a soft, flexible fabric — perfect for cozy crochet projects!
Next Lesson
Now that you’ve mastered the half double crochet, you’re ready to learn the Double Crochet (DC) stitch — it’s taller, more open, and used in so many classic crochet patterns.
Thanks Lovely, and happy crocheting!
Love Claire x
Hello Lovely, I hope you found this written tutorial helpful. To watch the accompanying video tutorial, click below.